

You won't just stumble across the 1997 Mitsubishi Montero Evolution while cruising a main highway in Forza Horizon 6. It's tucked away in Japan's mountain country, and the game makes you do a little work before it even gives you the hint. If you're saving your cash for upgrades, tunes, or extra builds, keeping an eye on
FH6 Credits
can help, but this particular ride won't cost you anything once the Barn Find is active. The real trick is unlocking the rumor first, then taking the right dirt road instead of blasting past it.
Unlocking the rumor first
Before the Montero Evolution appears on your map, you need to earn the Orange Stamp through the Discover Japan progression system. That part matters. Plenty of players drive around Shimanoyama early, see nothing, and assume they're in the wrong region. They're usually not. The car simply won't show until that stamp is in your collection. Once you've got it, the Barn Find rumor opens up and gives you a search area. From there, you're not looking for a hidden cave or some tiny footpath. You're looking for a proper off-road turn that starts near a set of mountain switchbacks.
Where to drive in Shimanoyama
The barn is in the Shimanoyama region, over on the western side of the Japan map. Head toward the eastern part of Shimanoyama and look for the road that climbs through several tight hairpin bends. It's the kind of road where you'll probably be braking more than you want to, unless you're in something light and grippy. Keep going until you reach the top of that section. When the road starts to flatten out and run straighter, watch the east side carefully. A dirt road branches off there. Take that turn, even if it looks a bit plain at first.
Reaching the barn without wasting time
Once you're on the dirt track, follow it downhill. The route isn't long, and you shouldn't be spending ages on it. If you've been bouncing along the trail for more than a minute, there's a good chance you turned off at the wrong place or missed the correct branch near the top of the hairpins. A rally car, SUV, or anything with decent suspension makes the trip easier, but you don't need a perfect off-road build. Just stay on the track, keep your speed sensible through the rough bits, and the Barn Find should come into view soon enough.
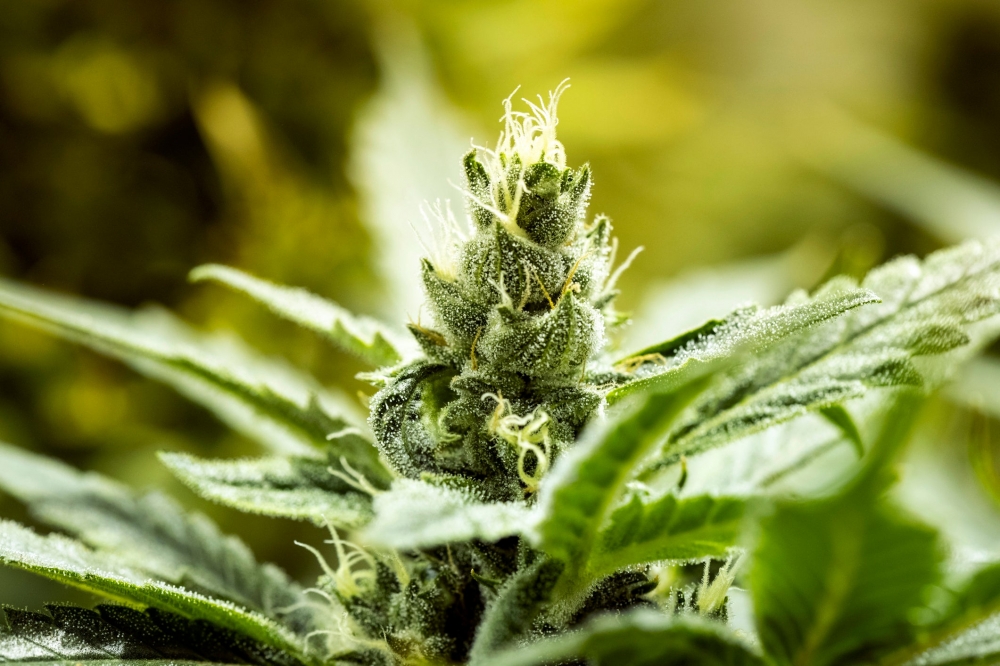
Why the Montero Evolution is worth collecting
The Montero Evolution isn't a flashy supercar, and that's part of its charm. It has all-wheel drive, 276 hp, a D class rating, and an Offroad score of 8.0, so it's more useful than it first looks. The 0-60 mph time of 7.51 seconds won't scare anyone, and its 126.5 mph top speed is modest, but it feels right on dirt, gravel, and mixed-surface routes. It's also free once restored, which makes it a smart pickup while you're building a wider garage. If you're planning upgrades later,
Forza Horizon 6 Credits
can go toward tuning other cars while this Barn Find fills a handy off-road slot.
Read More...
The Arbiter of Ash looks like the kind of fight that should feel grand, dangerous, and worth learning. In practice, though, it often feels like a boss built to slow you down before it ever tests your build. If you're farming
POE 2 Currency
, that matters a lot. Every extra walk, click, and forced wait chips away at the value of the run. After enough attempts, the problem isn't just that the boss can kill you. It's that the whole encounter asks for too much time while giving back too little unless you hit the jackpot.
The run-up feels worse than the fight
A good boss attempt should get you into the action quickly. Arbiter of Ash doesn't. You load into the area, move through the map, reach the arena setup, place the fragments, then sit through the elevator section. None of this feels dangerous or interesting after the first time. It just becomes admin work. That's fine once, maybe twice. But when you're doing repeated runs, it gets old fast. The worst part is that a failed attempt doesn't only cost the entry materials. It also costs all that dead time again. For players who measure farming by pace, this boss starts losing before the first attack lands.
The pacing keeps breaking
Once you're actually in the arena, the fight still refuses to move cleanly. The intro takes too long, phase changes stop the flow, and there are too many moments where the boss is on screen but not really playable. You can't hit it. You can't speed it up. You just wait. That sort of thing can work in a campaign spectacle, but in repeatable endgame content it feels rough. Players don't mind learning patterns or dying to clear mistakes. They do mind standing around while a boss performs another scene they've already watched twenty times.
The mechanics don't always teach the right lesson
The arena is huge, and that sounds useful until you start playing builds that need tight positioning or steady damage uptime. Some AoE setups feel awkward. Some single-target builds spend too much time chasing angles. Then the mechanics add another layer of annoyance. Early patterns can train you to react one way, only for later phases to punish that same instinct. That doesn't feel like clever difficulty. It feels like the rules changed while you were following them. A strong boss fight usually lets you improve run by run. Here, even experienced players can get clipped by visual confusion or a cue that doesn't read cleanly in the moment.
The rewards don't match the hassle
The loot table is the real reason many players walk away from this encounter. Most drops aren't exciting, and plenty of them barely cover a meaningful part of the entry cost. The Prism of Belief is the big prize, sure, and landing one can make the whole session look amazing on paper. But that's the trap. If the rare jewel doesn't drop, the boss can feel like a bad gamble dressed up as farming. Uber Arbiter makes the issue sharper, because the risk climbs while the dependable return still doesn't feel strong enough for most builds.
What players are left with
Arbiter of Ash isn't impossible, and some players will still run it for the thrill or the chance at a huge payout. That's fair. But for steady farming, it's hard to recommend over mapping, Ritual, or other routes that pay more consistently. If you're trying to build wealth without burning time and fragments, using safer strategies alongside
cheap POE2 Currency
planning makes more sense than leaning too hard on this boss. Run it when you want the gamble, not when you need reliable profit.
Read More...
If you're working through Diablo 4's tougher endgame, Pounds of Flesh are one of those materials you can't really ignore for long. They're used to reach the Butcher's Hoard, which matters a lot if you're chasing rare
Diablo 4 Items
that can push a build from "pretty good" to genuinely nasty. You won't be farming this stuff on a fresh character, though. Most players start looking for it once they're comfortable in Torment I or higher, because the activities tied to it hit harder than normal dungeons and punish sloppy gearing fast.
Where Pounds of Flesh Come From
The main source is Bloodied content. That means Bloodied versions of Nightmare Dungeons, Infernal Hordes, and certain boss-related activities. To open these runs, you'll need Bloodied Sigils or Blood-Soaked Sigils. A Bloodied Sigil raises the pressure by making enemies feel one Torment tier above where you are. Blood-Soaked Sigils are rougher. They're built for players who already have damage, defenses, and movement sorted out. If your build still falls over to random elites, don't rush them. You'll waste time, repairs, and probably a bit of patience.
Getting the Right Sigils
Bloodied Sigils can drop from enemies once you're playing in Torment difficulties, so normal farming still matters. Nightmare Dungeons, elite routes, seasonal tasks, and reward caches can all help you stack up chances. It's not a clean "do this three times and you're done" kind of farm. There's RNG involved, and some nights will feel better than others. A good routine is to clear content you can finish quickly, salvage the bad runs, then save the tougher sigils for when your gear is upgraded and your build feels stable.
Another Route Through Kurast Undercity
You can also try Kurast Undercity runs with a Tribute of Titans. This is a decent option if you don't want to live inside Bloodied dungeons all day. The catch is that the rewards are spread around several boss materials, so you might walk away with useful keys but not enough Pounds of Flesh for the Butcher run you wanted. Still, it's worth mixing in. You'll pick up gear, gold, and other materials along the way, and that keeps the grind from feeling like you're banging your head against the same wall for hours.
Using Them Without Wasting Them
Once you've got enough Pounds of Flesh, head for The Broiler in Gea Kul and prepare for the Butcher's Hoard encounter. This isn't the random Butcher who jumps you in a dungeon and ruins your mood. This version is meaner, faster, and backed by mechanics that make bad positioning hurt. Bring a build that can survive burst damage, keep moving, and still deal steady single-target pressure. If you're short on upgrades or need extra trading power before pushing harder attempts, some players choose to
buy D4 Gold
to speed up their prep, but the fight still comes down to execution, clean gear choices, and knowing when to back off.
Read More...